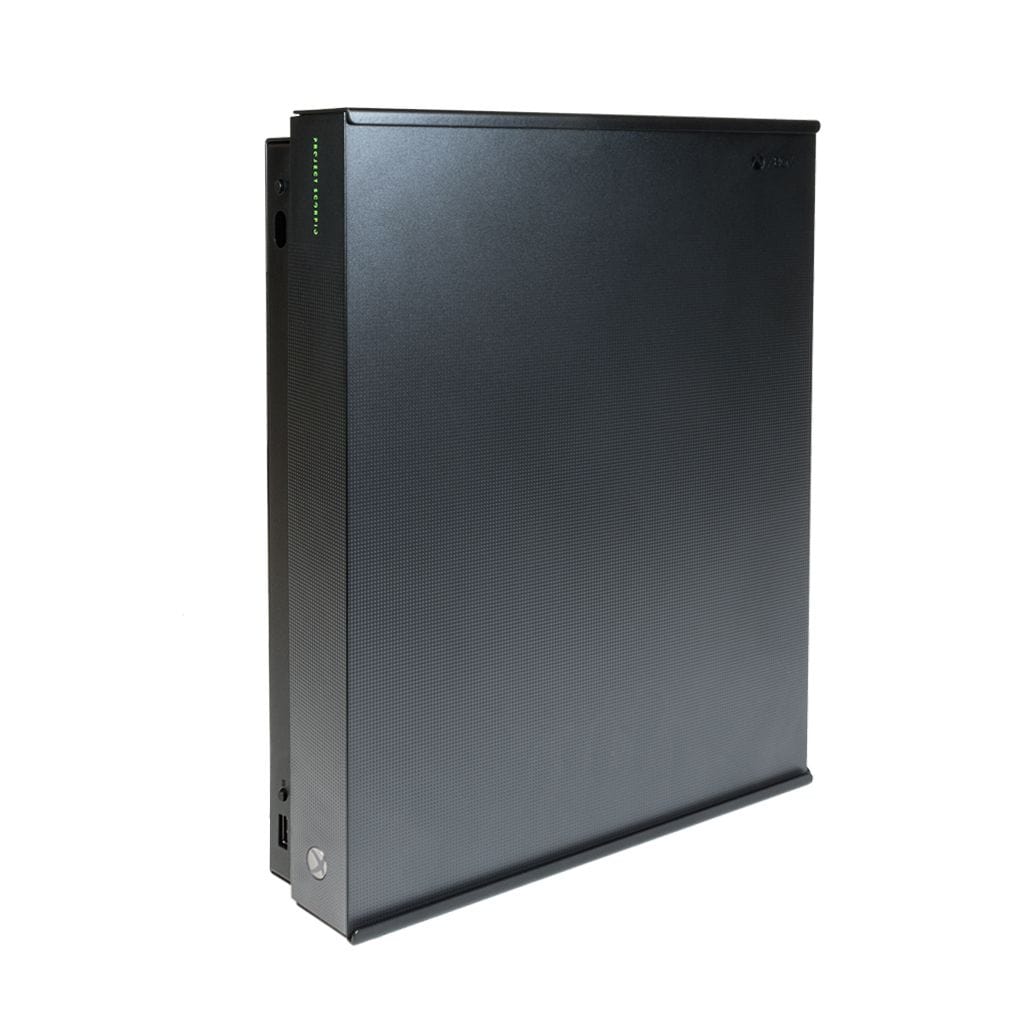
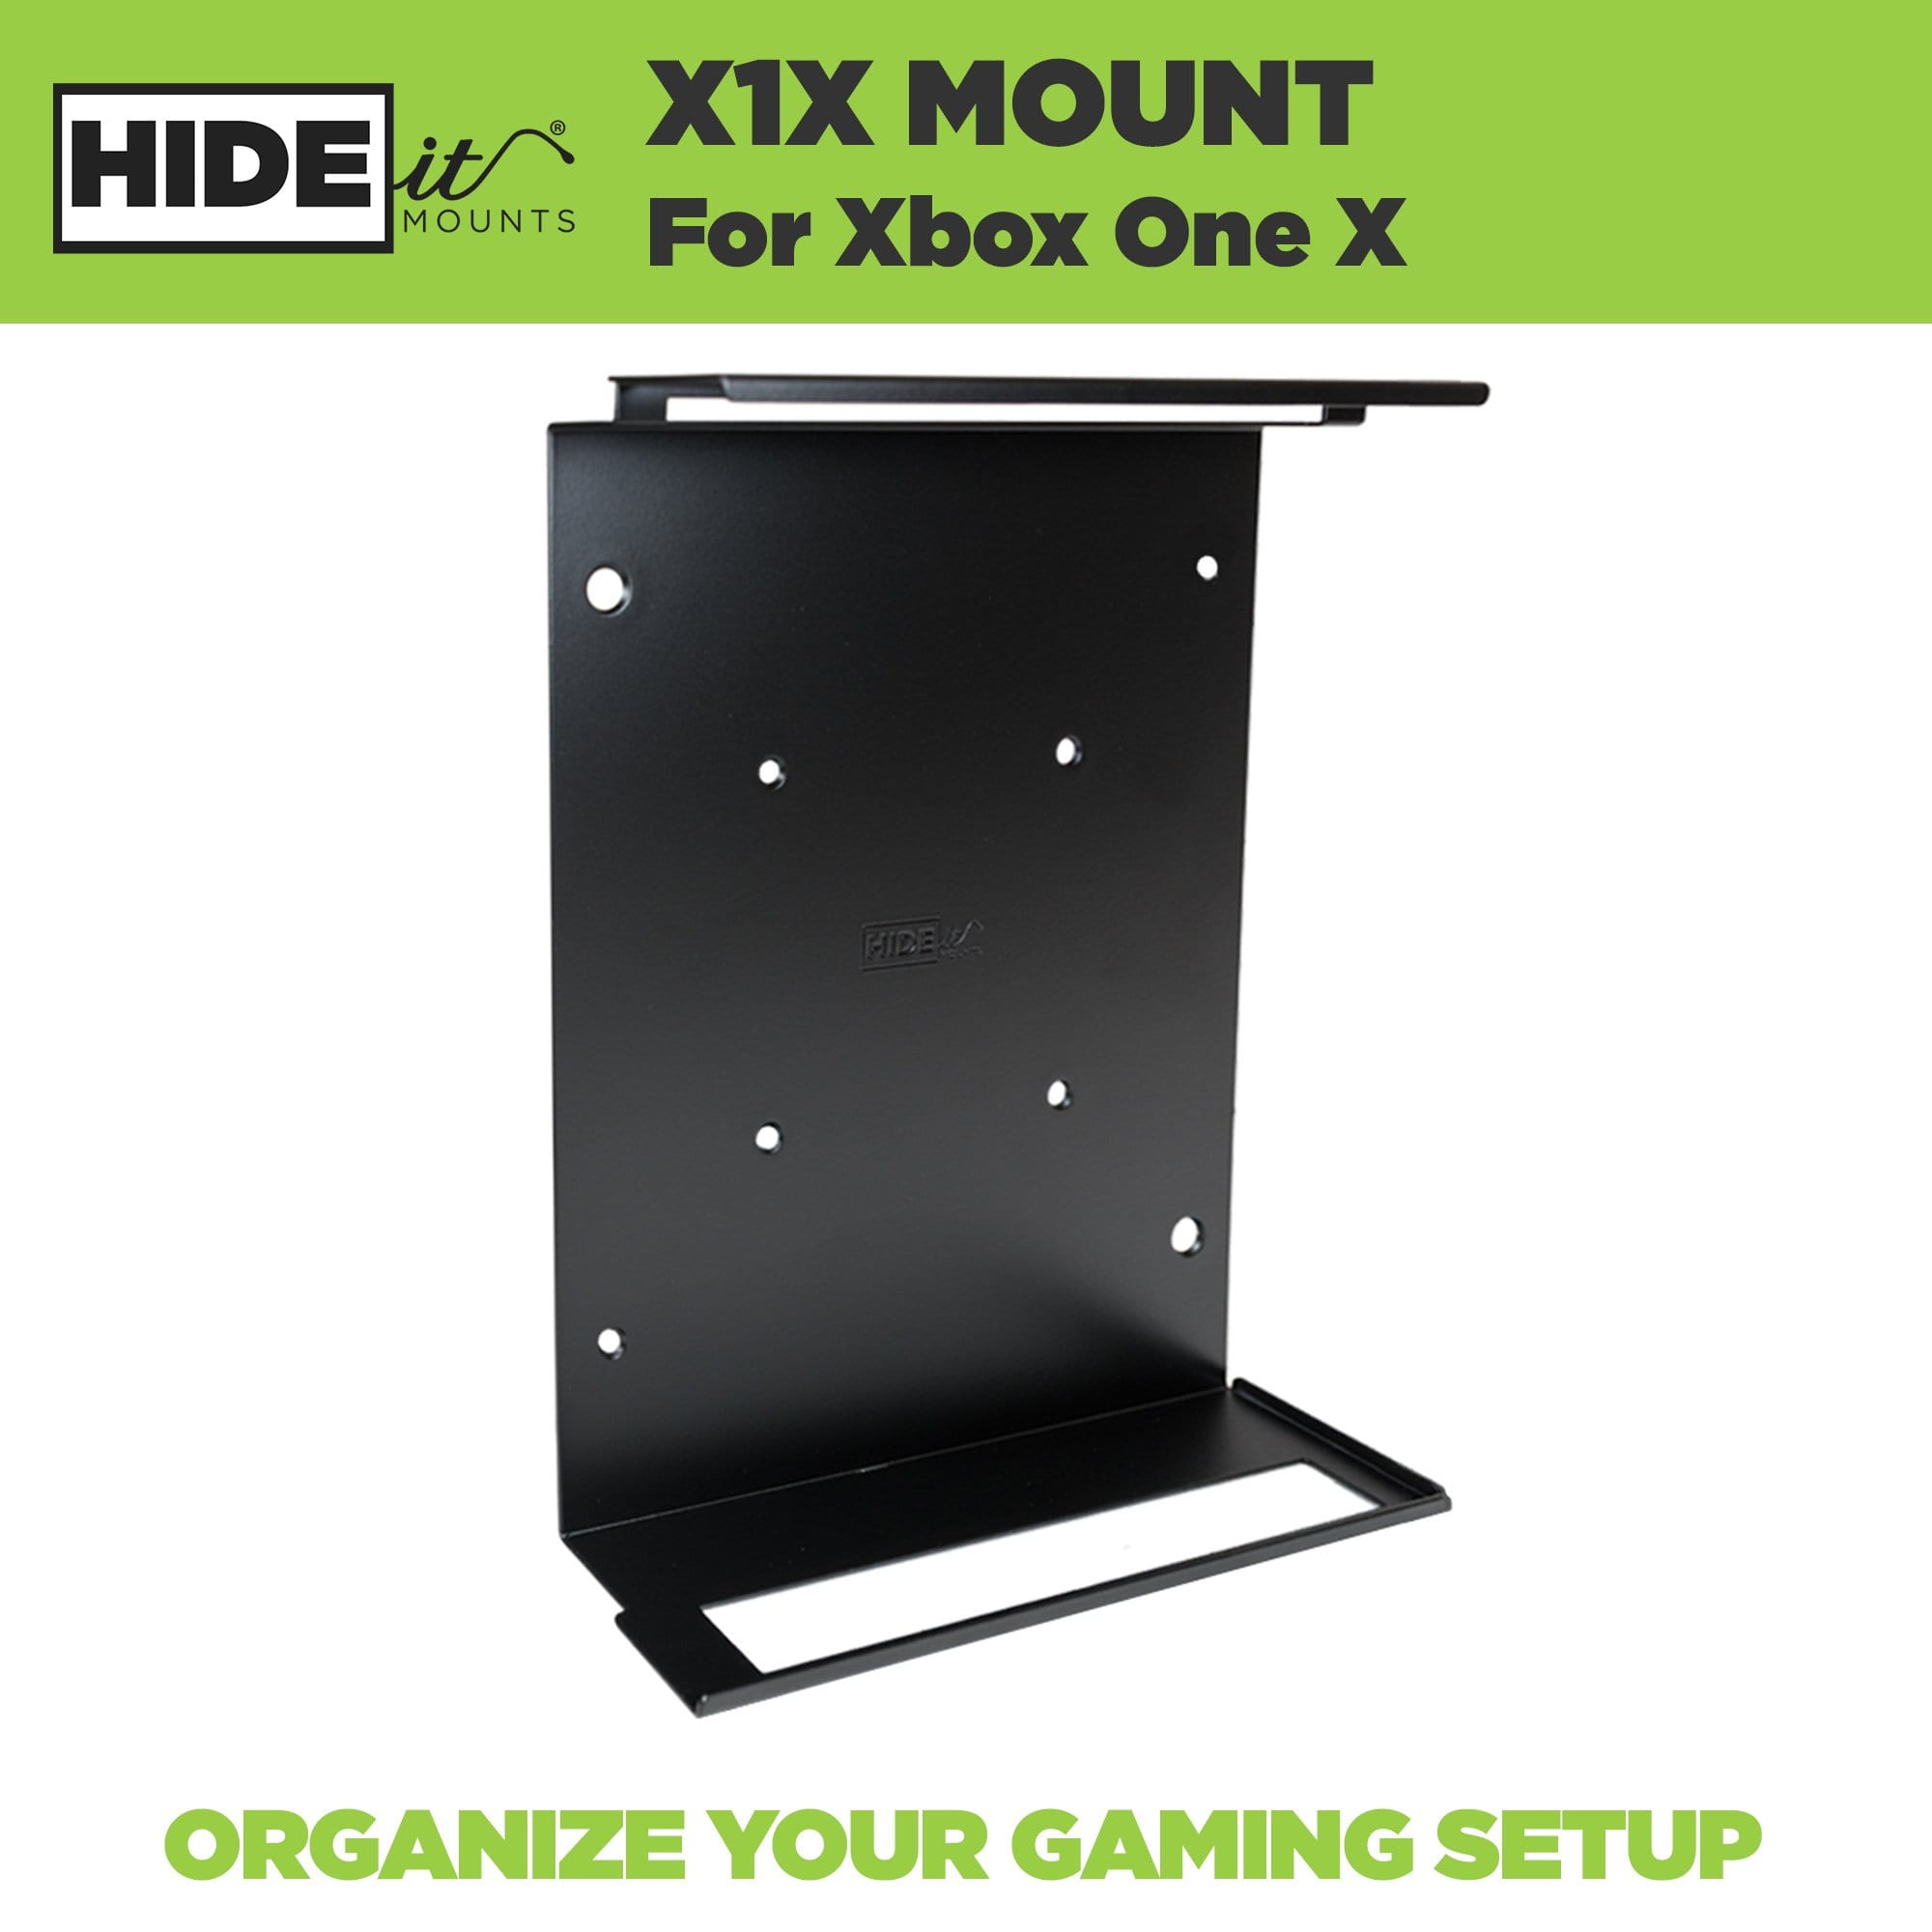
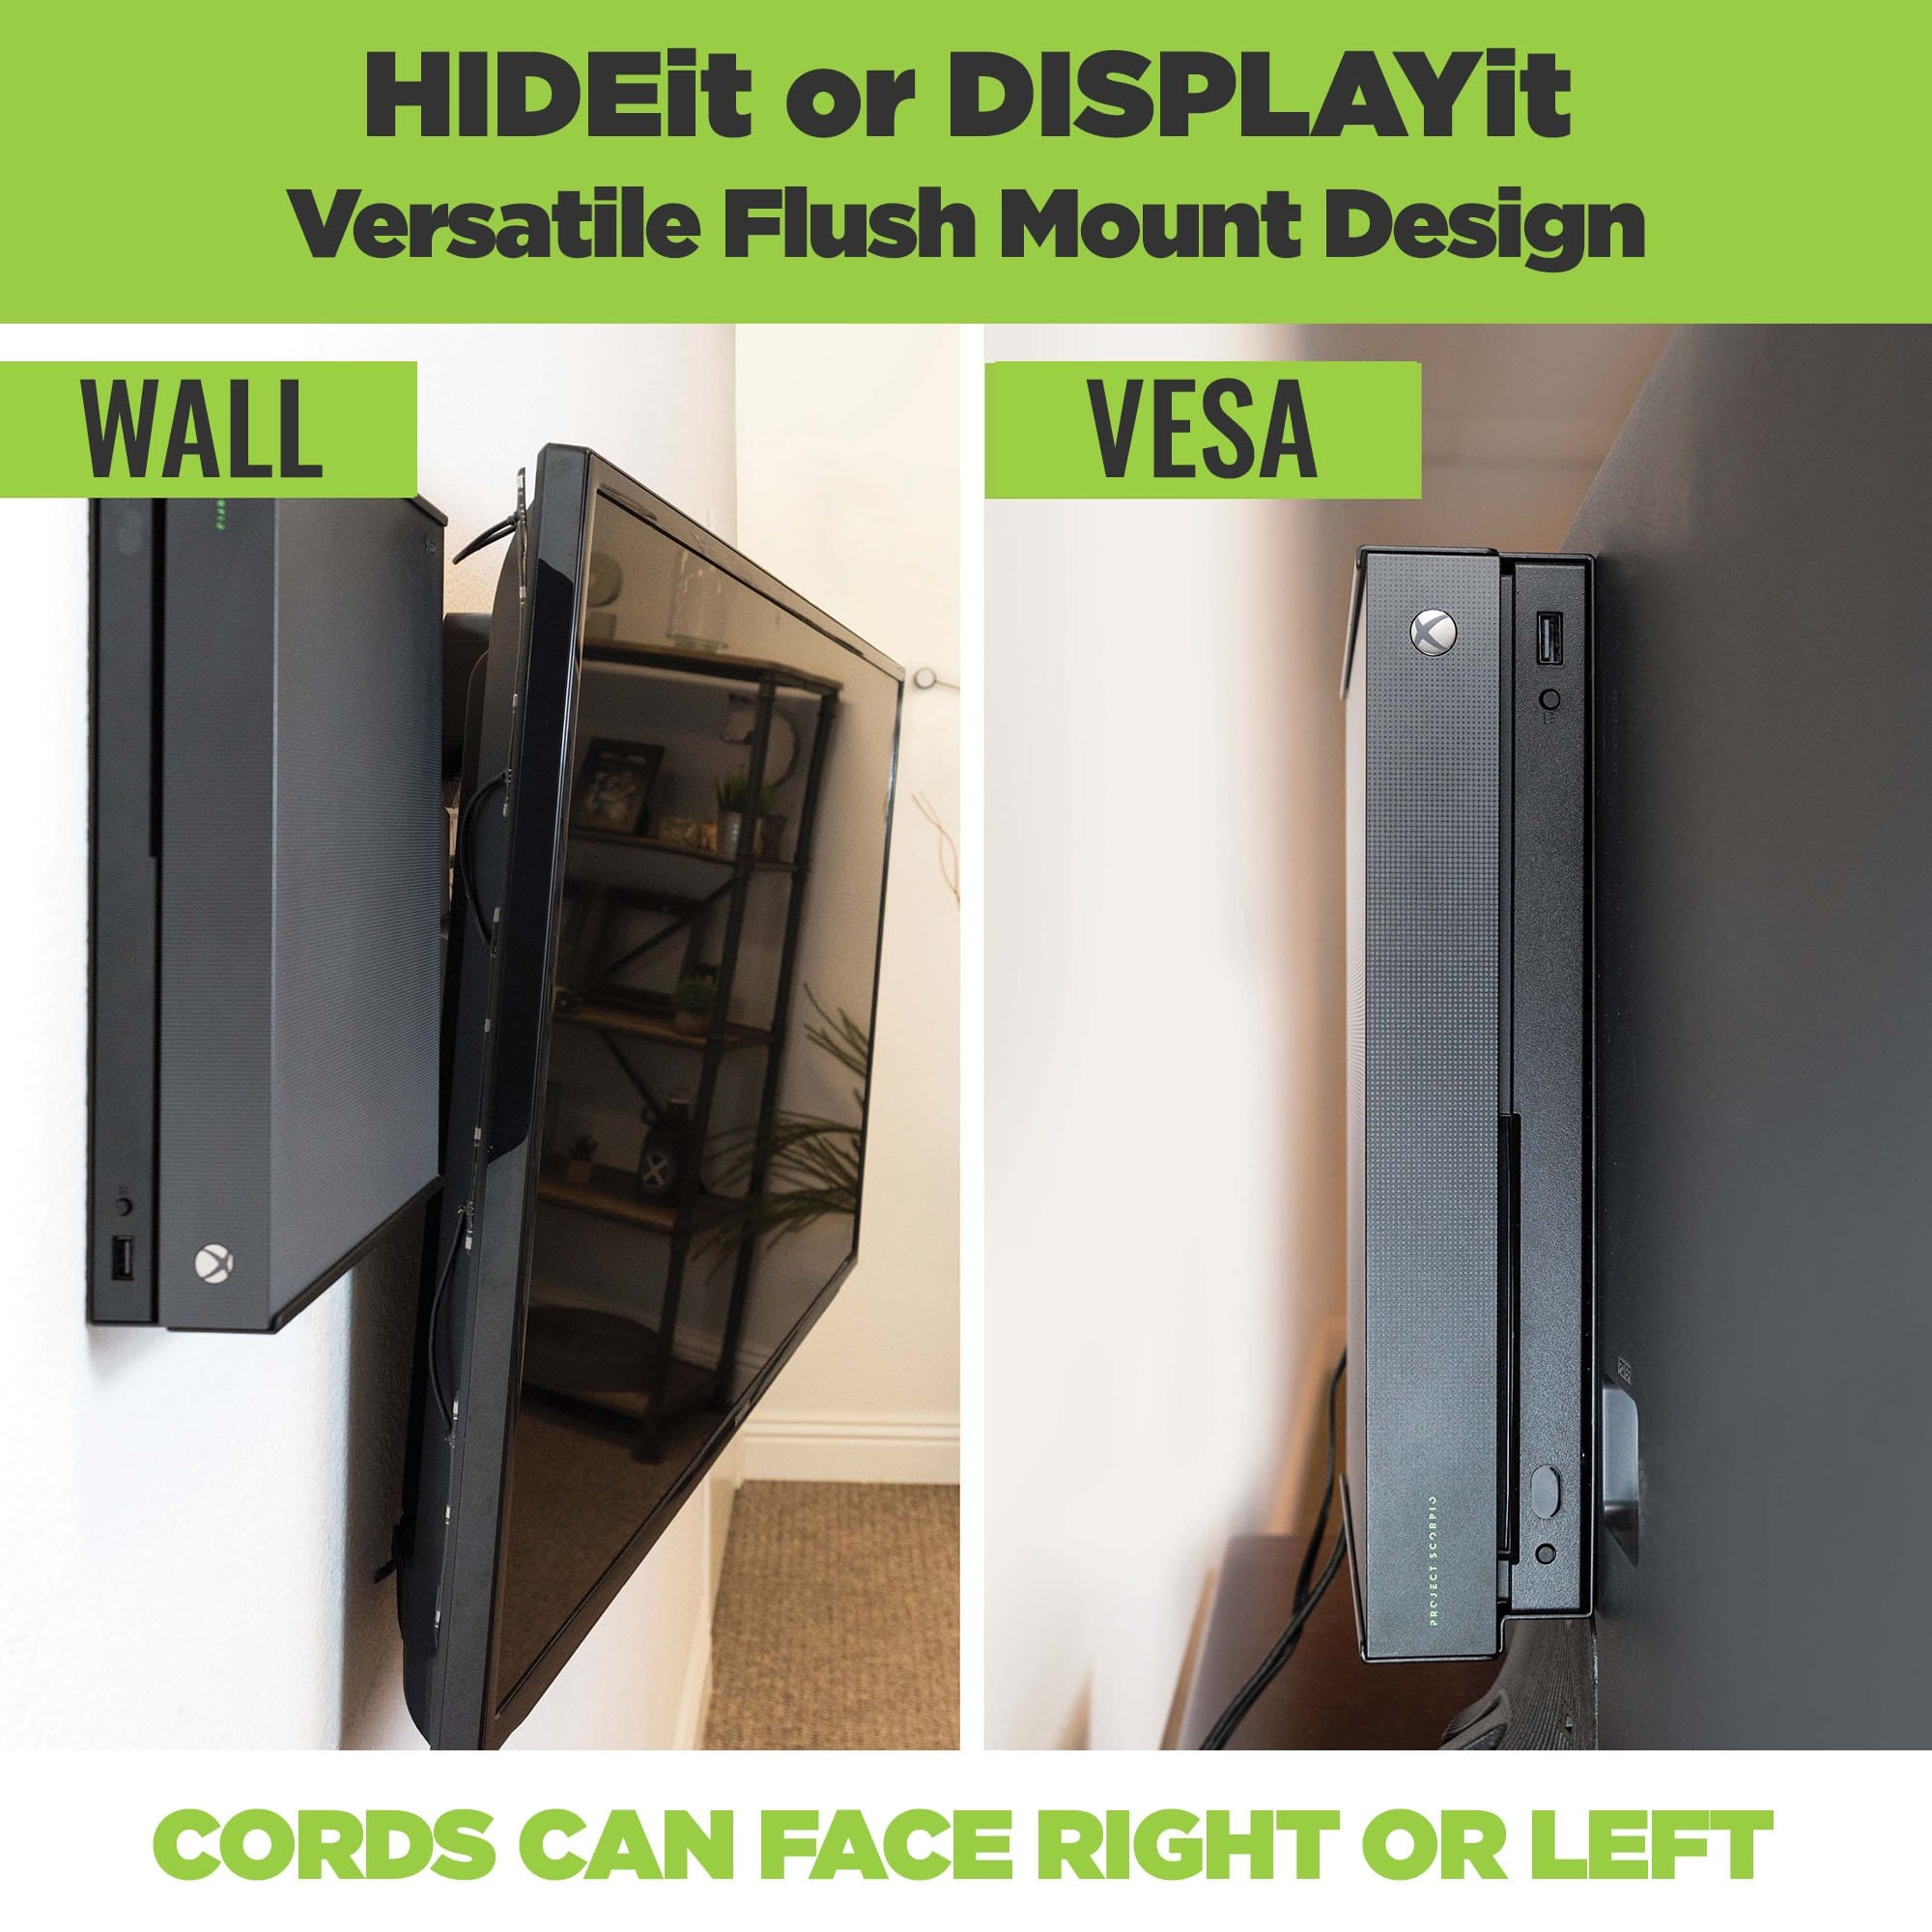
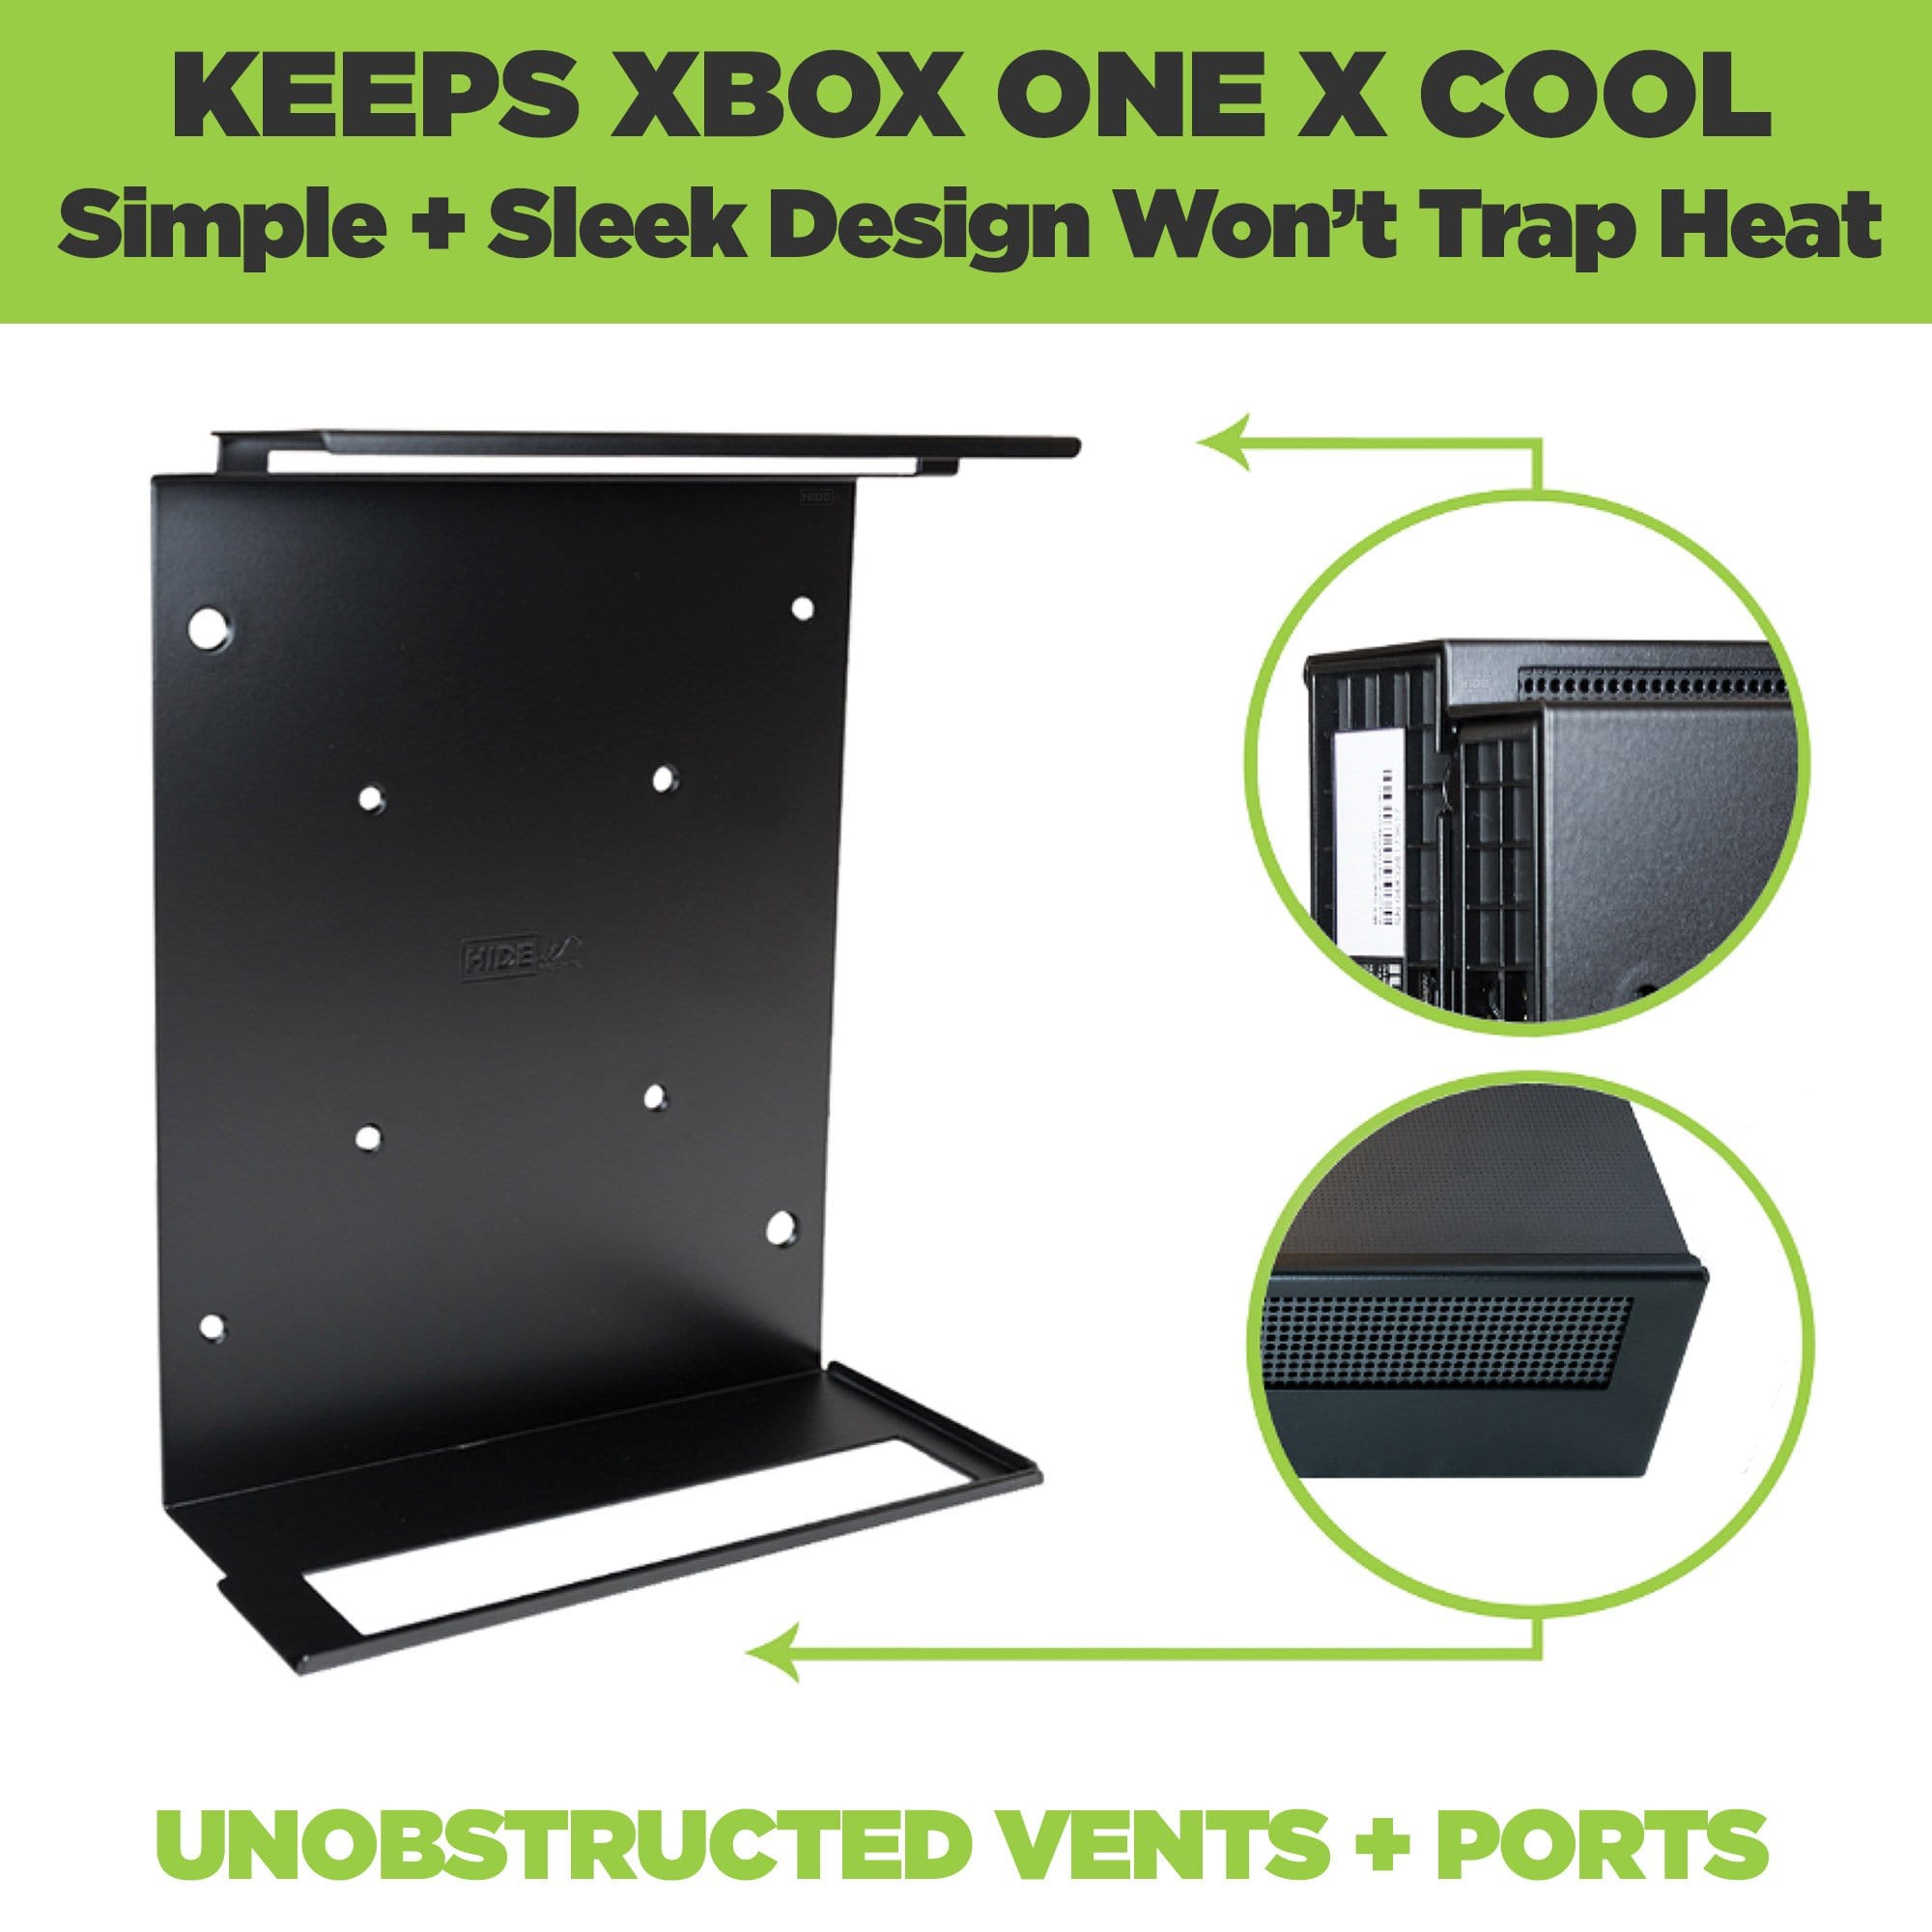
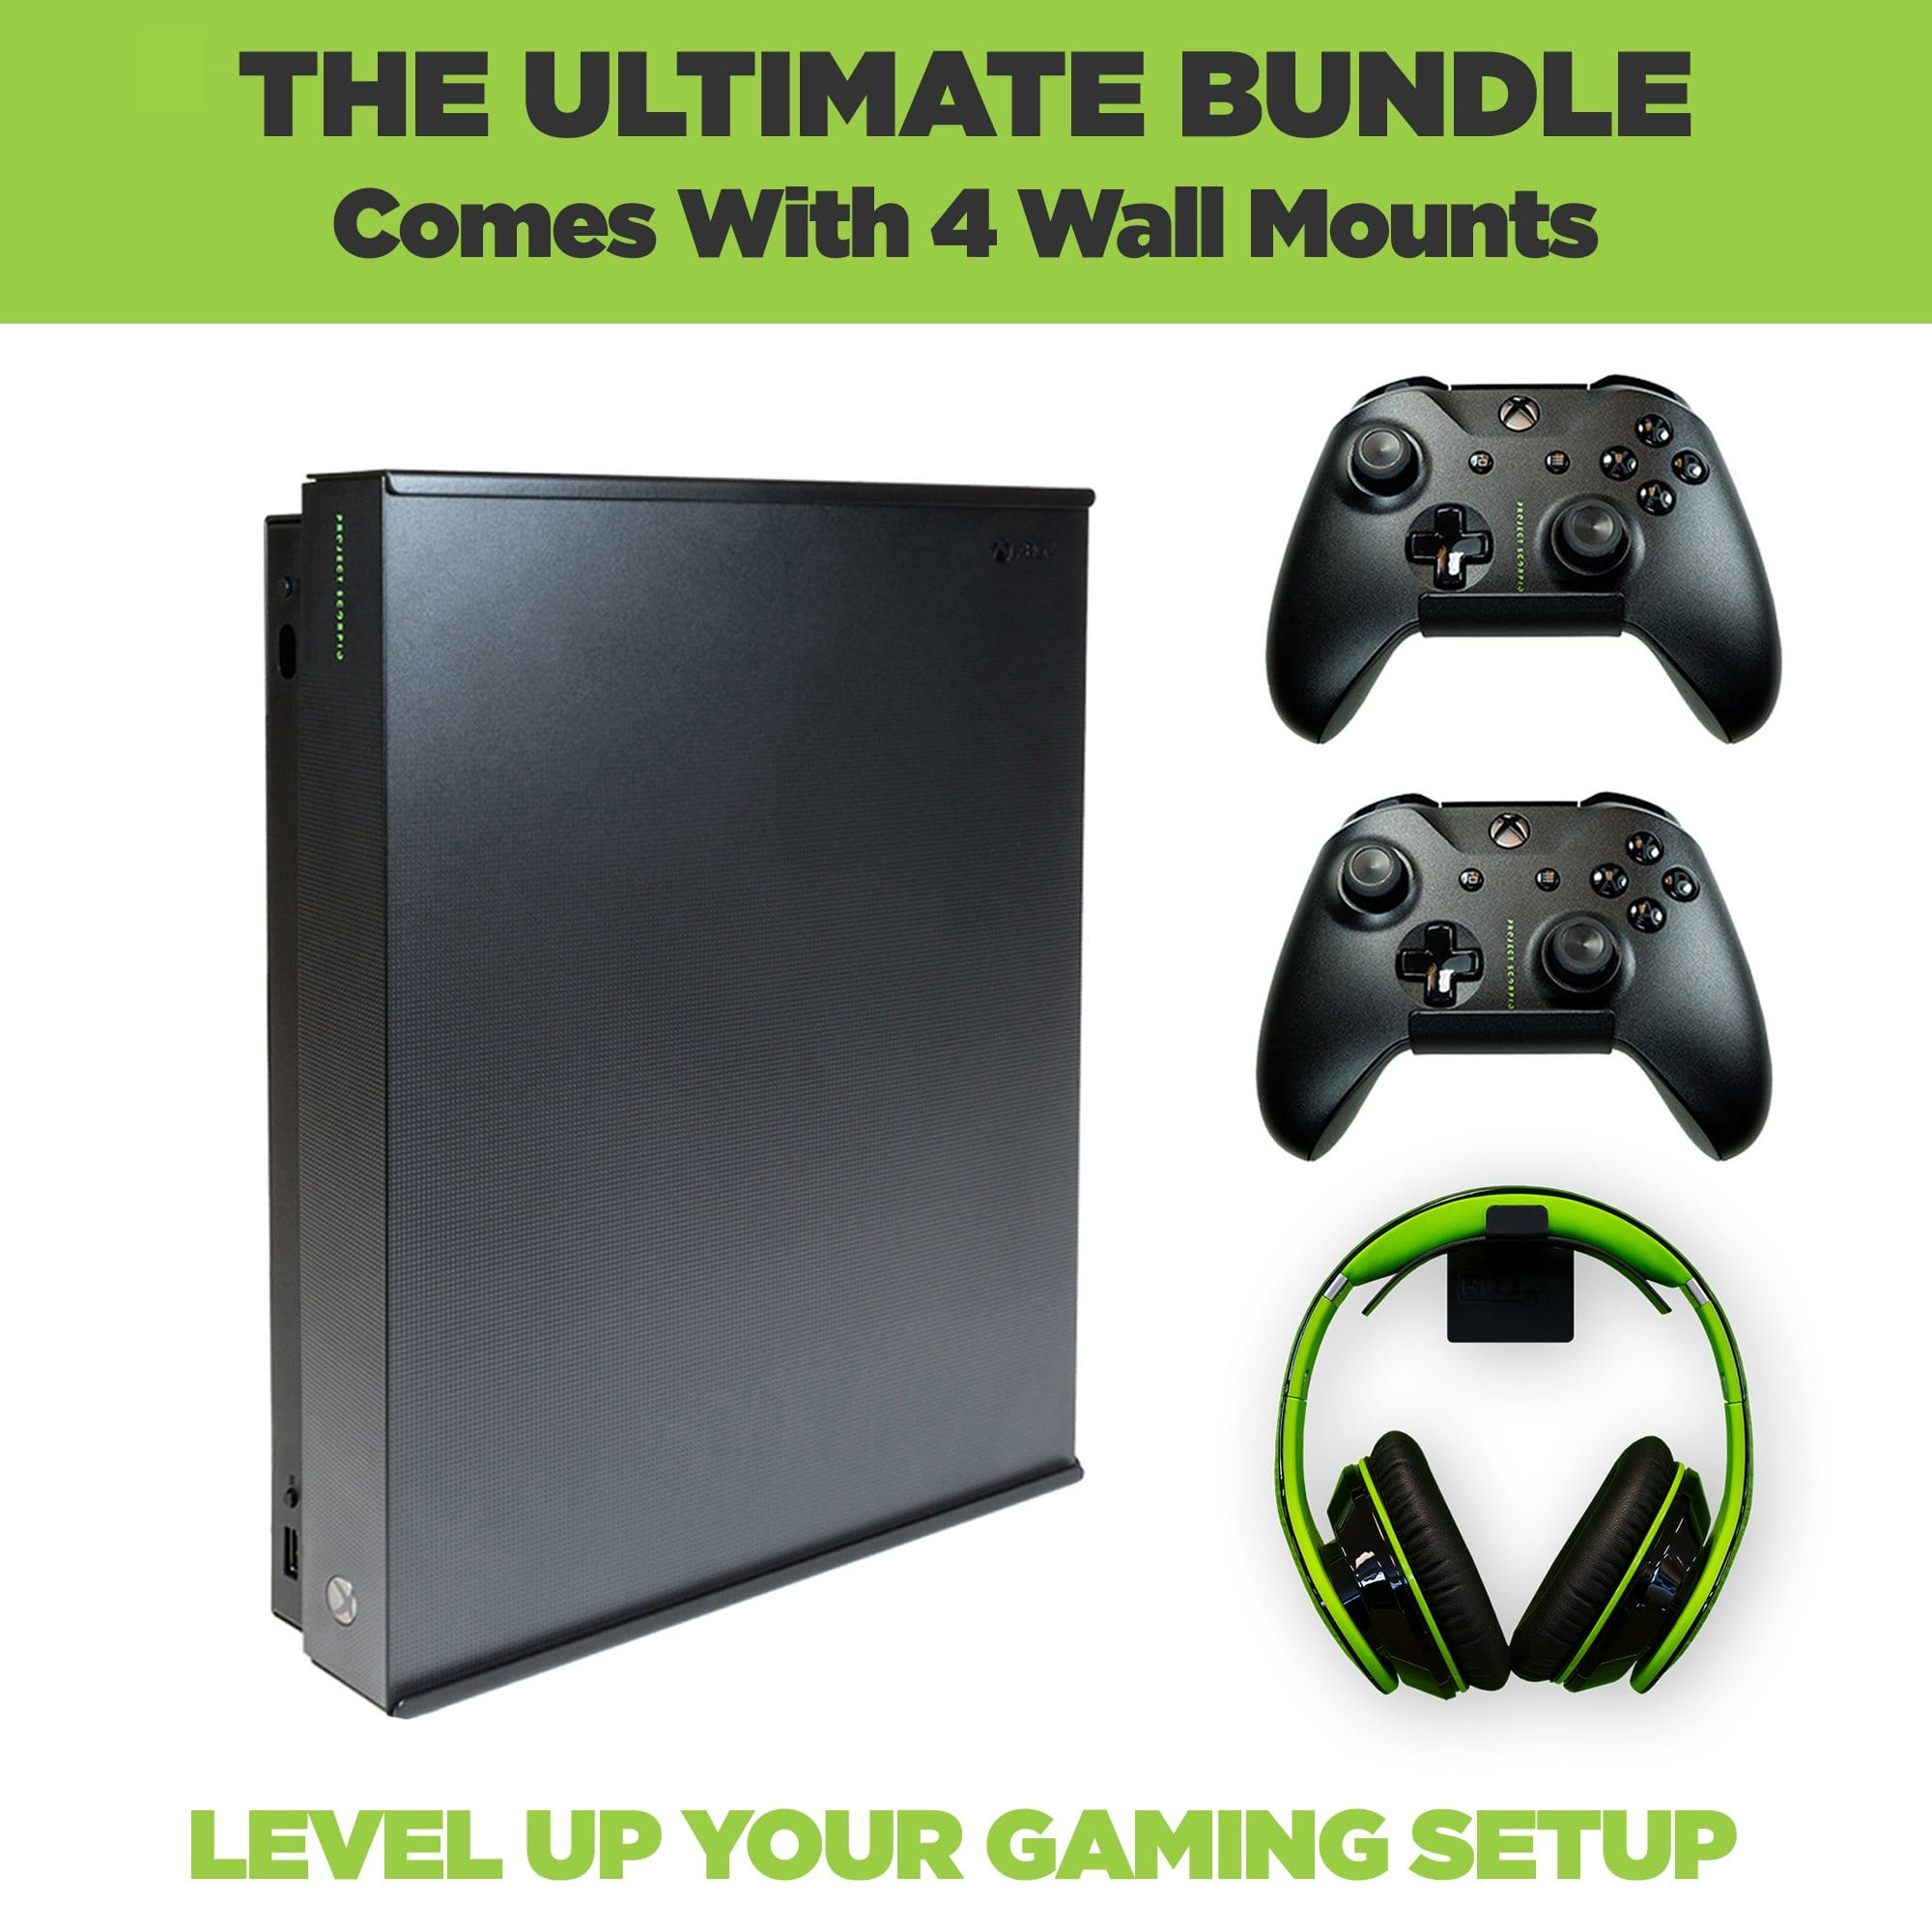
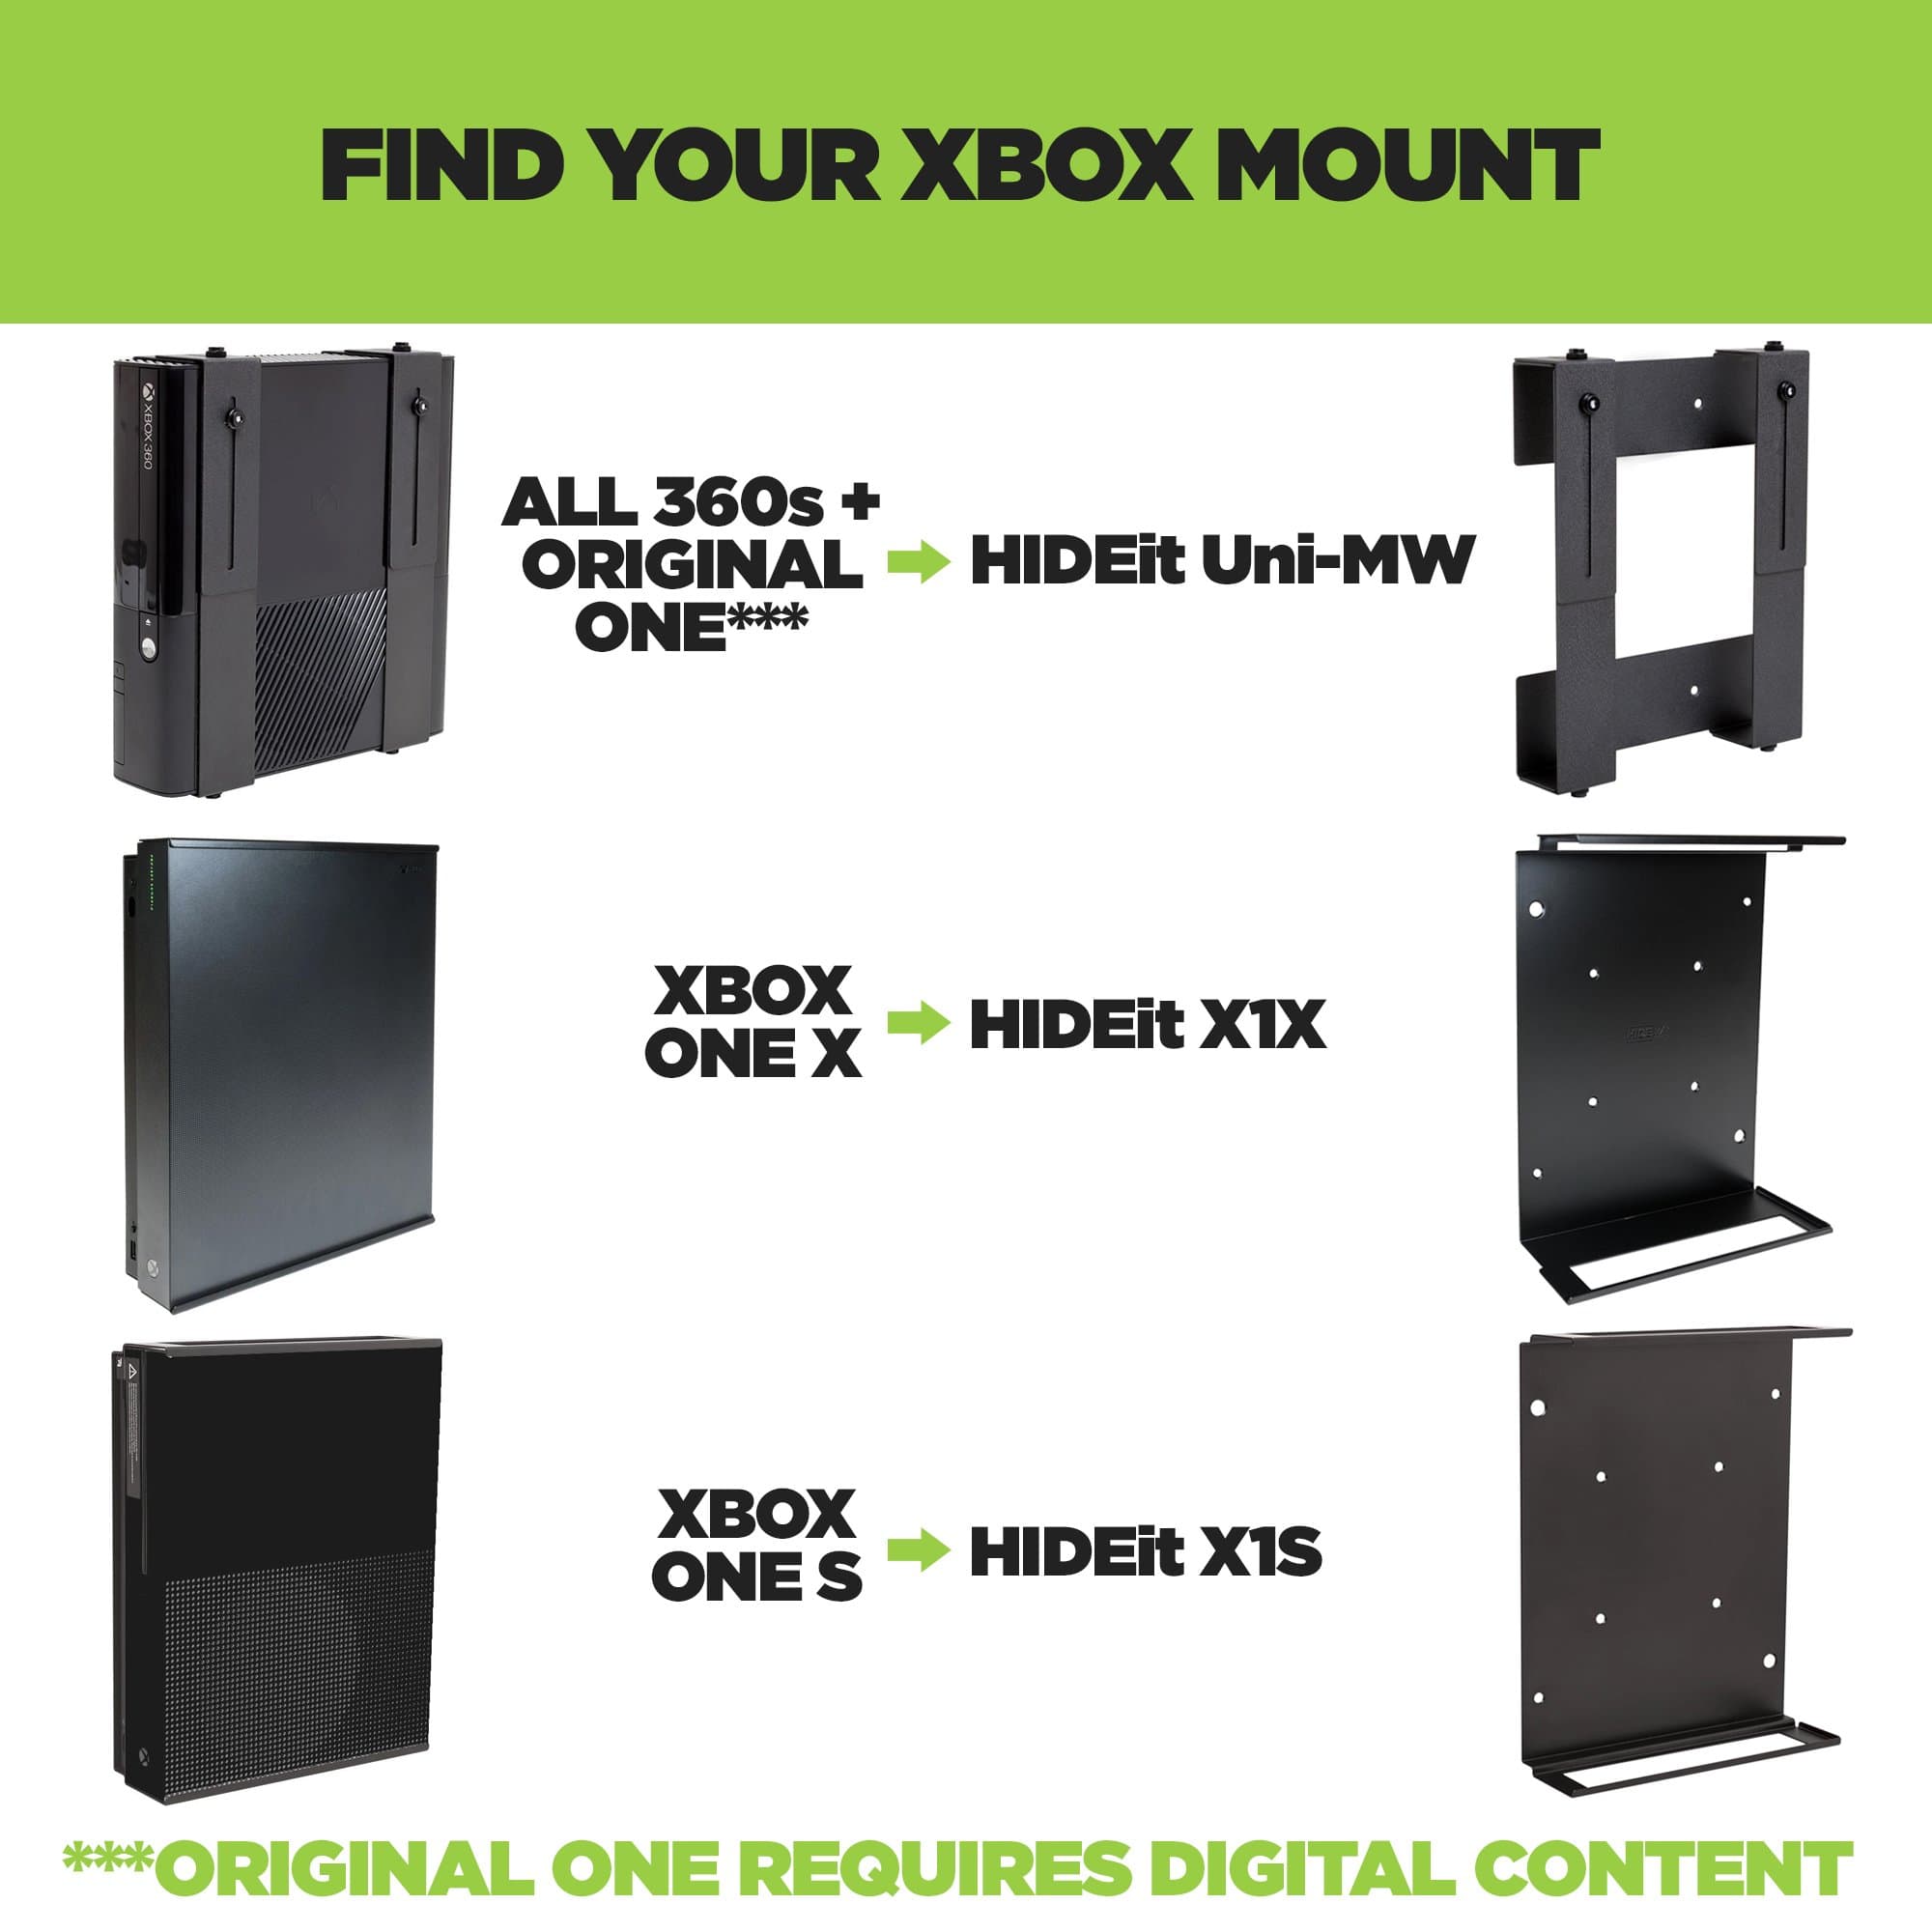
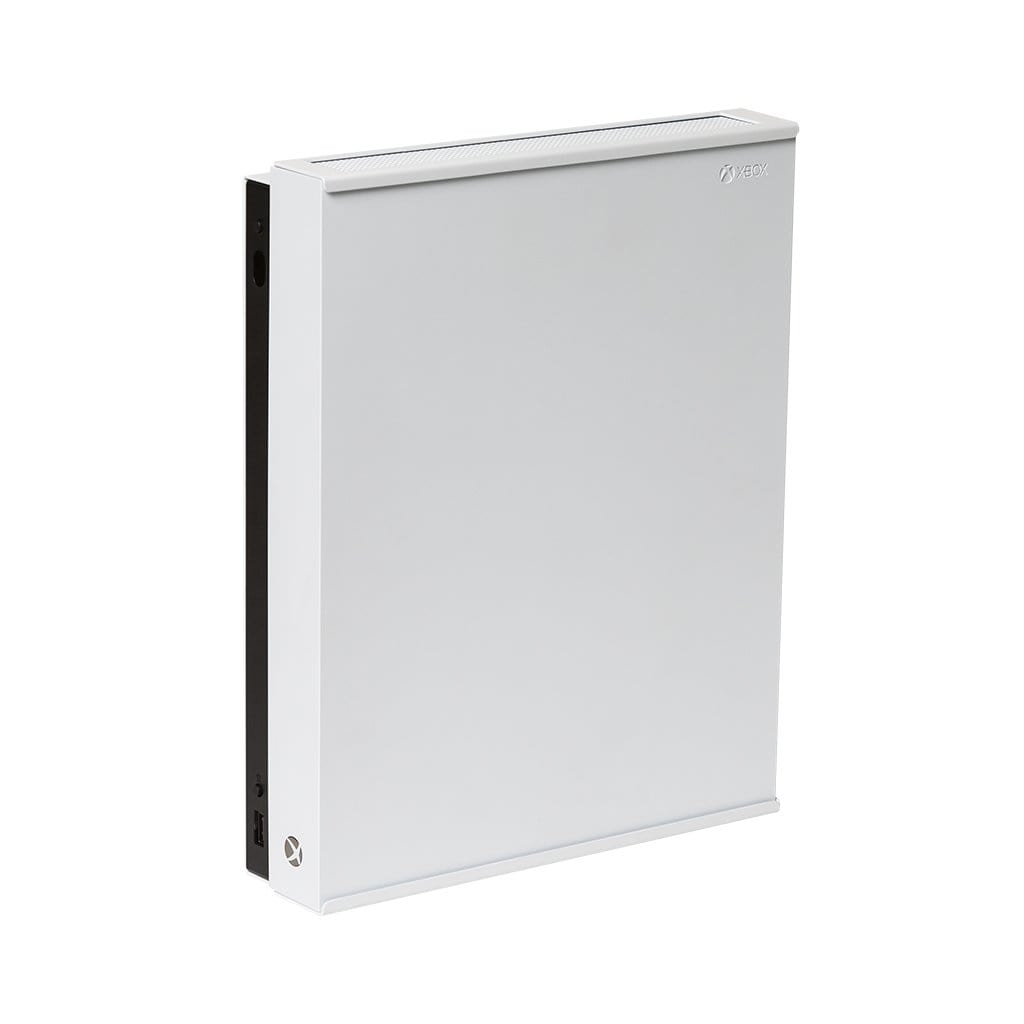
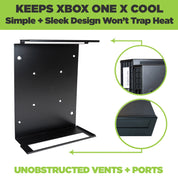
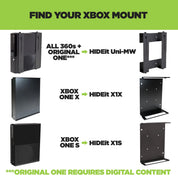
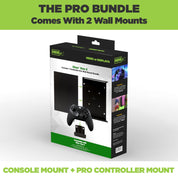
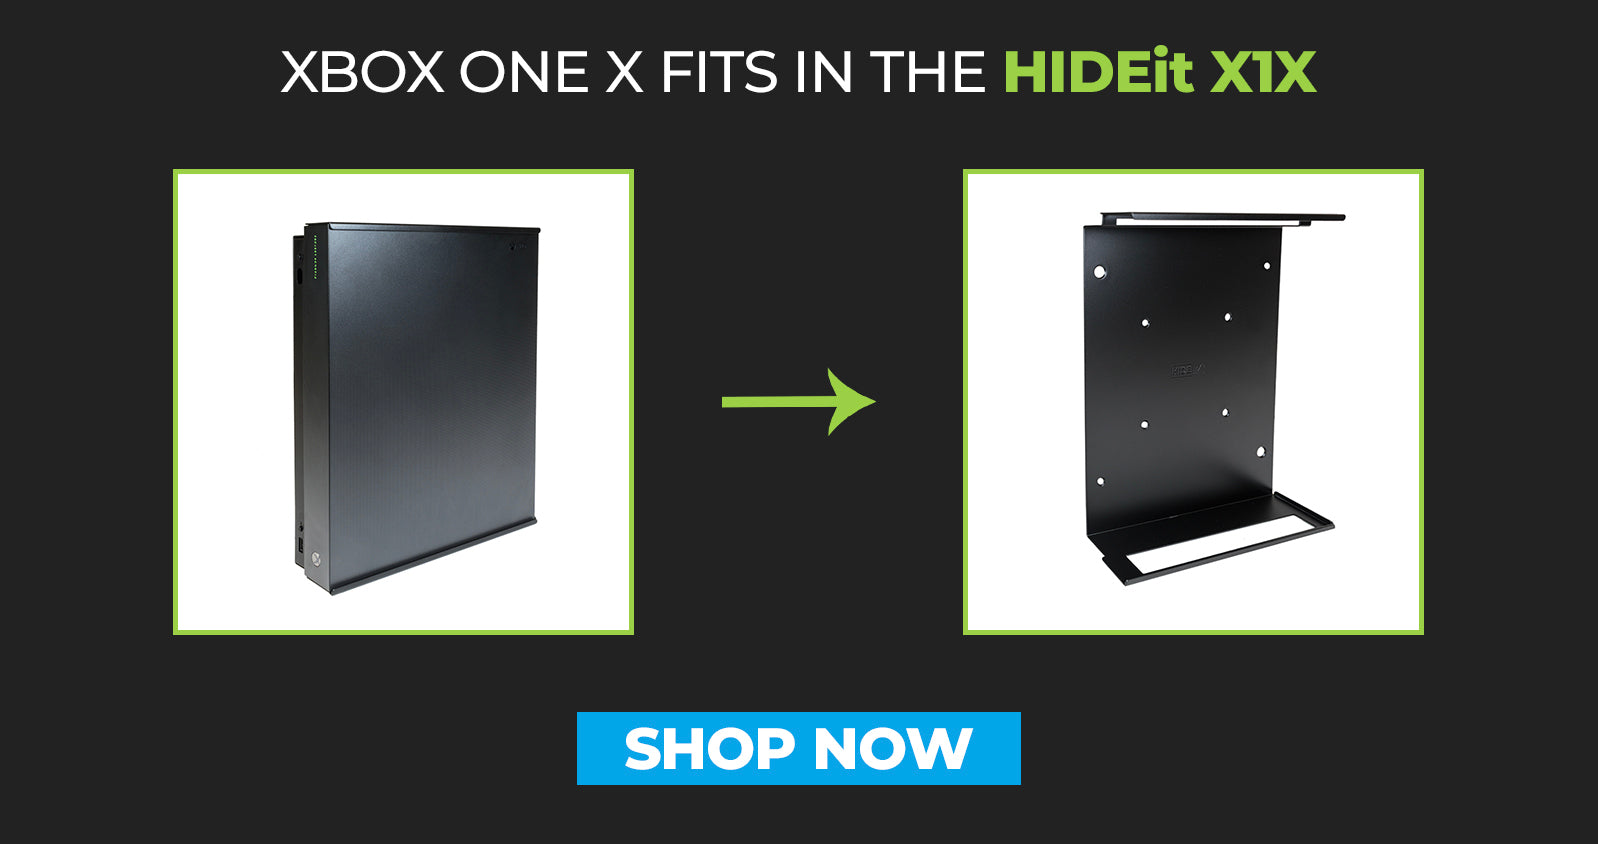
HIDEit X1X | Microsoft Xbox One X Mount


For more information, check out our blog post!
*Please note that the OG Xbox One disc drive was not equipped to play while vertical, so if you mount your Original Xbox One, you’ll have to switch to the downloaded content.
-
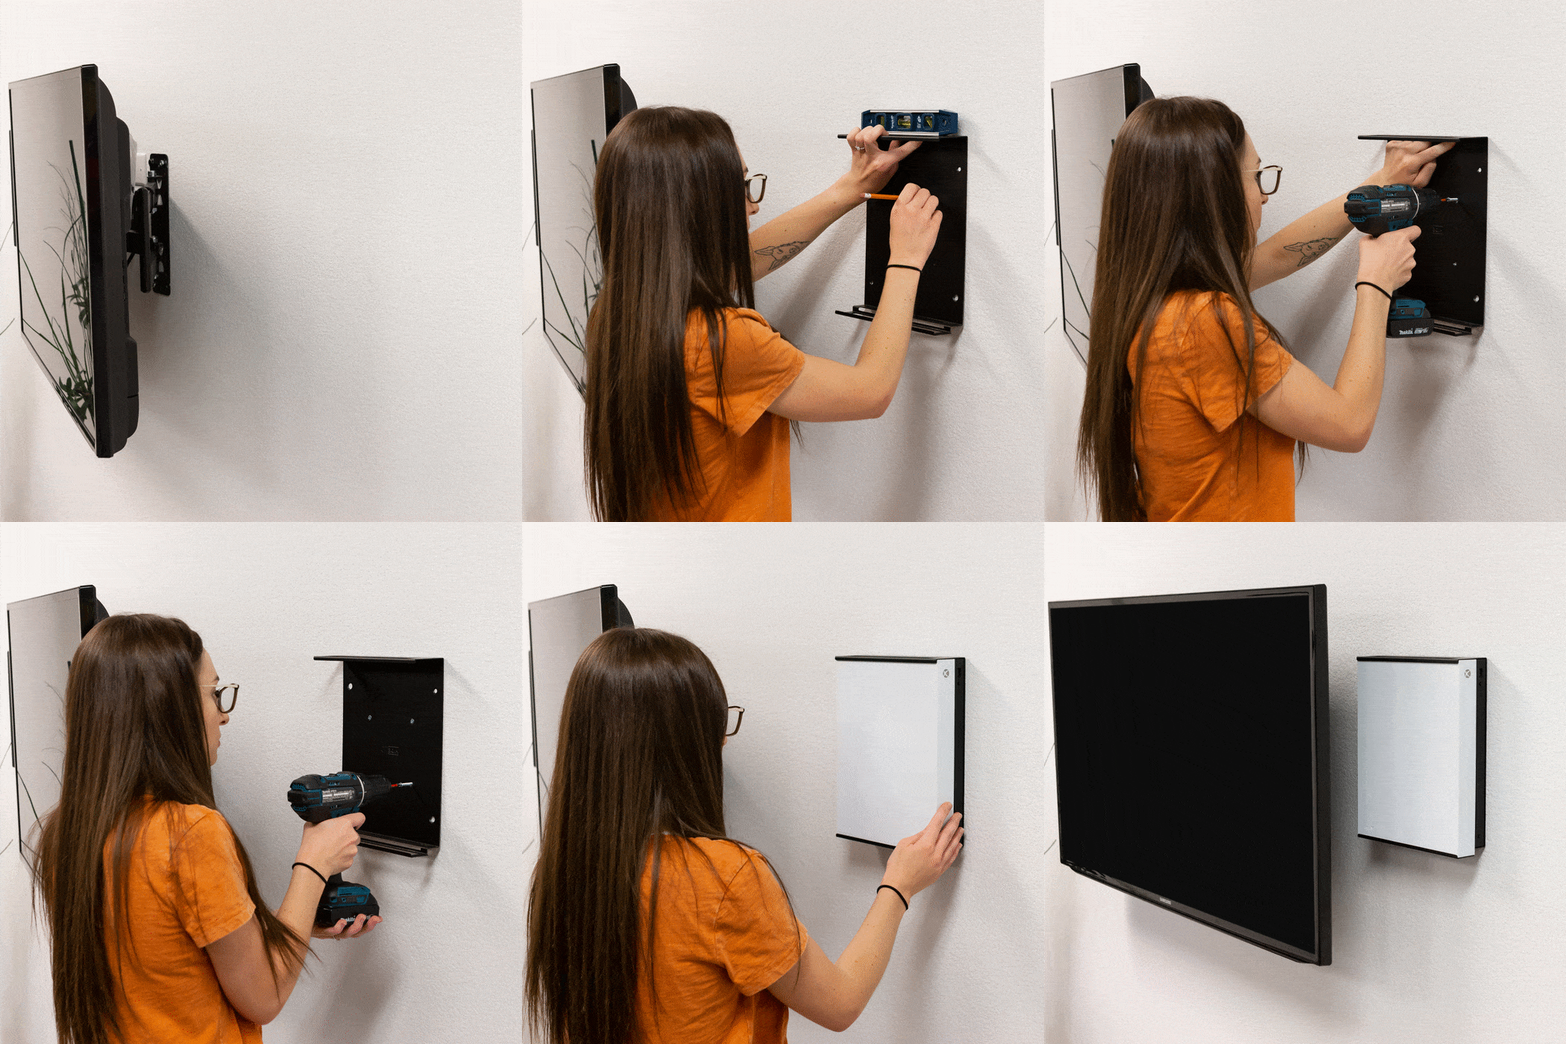
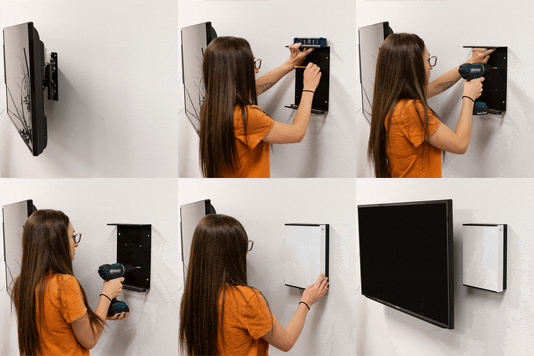
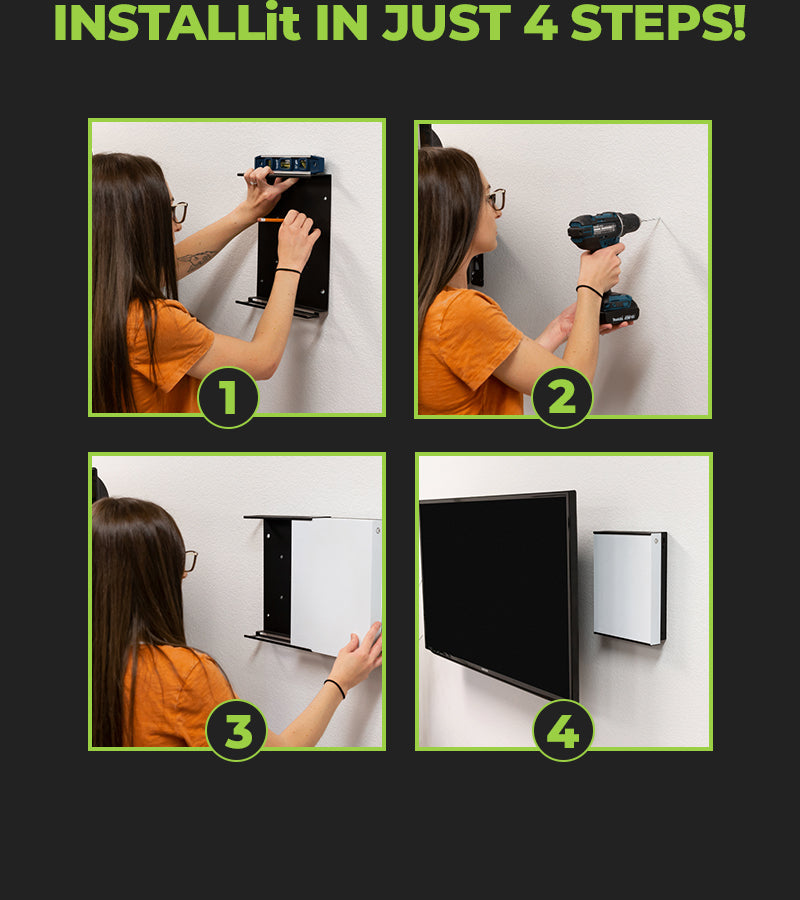
It might seem difficult to install a HIDEit Mount, but luckily it isn’t! We provide all the necessary hardware; all you need to bring is a few tools and a keen eye for how you want your setup to look. Here’s everything you need to know about how to install a mount for a clean, professional setup.
*** Before you start, be sure to plan out your setup, remove any discs and unplug power from all components, including your TV. ***
1. Gather your tools - Drill with 3/16" drill bit (if you have one), stud finder, level, Phillips-head screwdriver, pencil, damp paper towel, and your HIDEit Hardware.

2. Determine mount location(s) - Make sure to leave space for all of your cords. To reiterate, remove discs from all devices, test your cable box for remote function. Use a level and mark your holes. Depending on the location of your install, you may need to remove your TV.
3. Check for studs - When possible, mount one side into a stud. When stud mounting do not drill pilot hole. Don't worry if it's not possible, our drywall anchors are rated for 25 pounds each.
Install Tip - For holes into a stud, use a mounting screw to create holes. A 3/16" drill bit is too large.
Install Tip - For holes into drywall, drill holes using a 3/16" drill bit. Hold a damp paper towel against the wall a few inches below the drill bit to catch any debris (if it's too close, it could get caught in the drill bit). No drill? Just use the mounting screw to create a pilot hole. Insert the provided drywall anchors.


4. Line up your HIDEit Mount with the anchors - Attach with provided screws and HAND tighten to prevent damage. Slide your component into your HIDEit Mount.

5. Insert your devices - We recommend to slowly insert your devices. All of our mounts are powder-coated for protection, but it's always best to be safe than sorry! Connect all the cables!
Install Tip - Don't forget to tidy up those cords!


Specific mounting instructions are listed on each product under the "How to Install" tab.

You’ve now expertly installed your HIDEit Mount! Our mounts should only take five minutes or less to install. But don’t be afraid to take longer to prep, plan and get it perfect for your setup! Now, sit back, relax and enjoy your work!
-
Ships Fast from U.S. Warehouses
Most orders ship within 2 business days. Shipping speed depends on the service + carrier you select. US Economy Shipping can take up to 3 weeks. Shipping times are estimates and not guaranteed.
Return Policy
We want you to love your HIDEit Mount! Returns are accepted within 14 days of delivery for store credit. Items must be unused, in original packaging, and in resalable condition. Customers are responsible for return shipping.
We make innovative, high quality mounts. Our customers create the epic setups!
We're constantly amazed by our customers and you will be, too. Visit us on social for inspo. Once you join the HIDEit Fam, be sure to share your #afterhideit setup and #hideitstory!
TIPS, TRICKS + MORE!
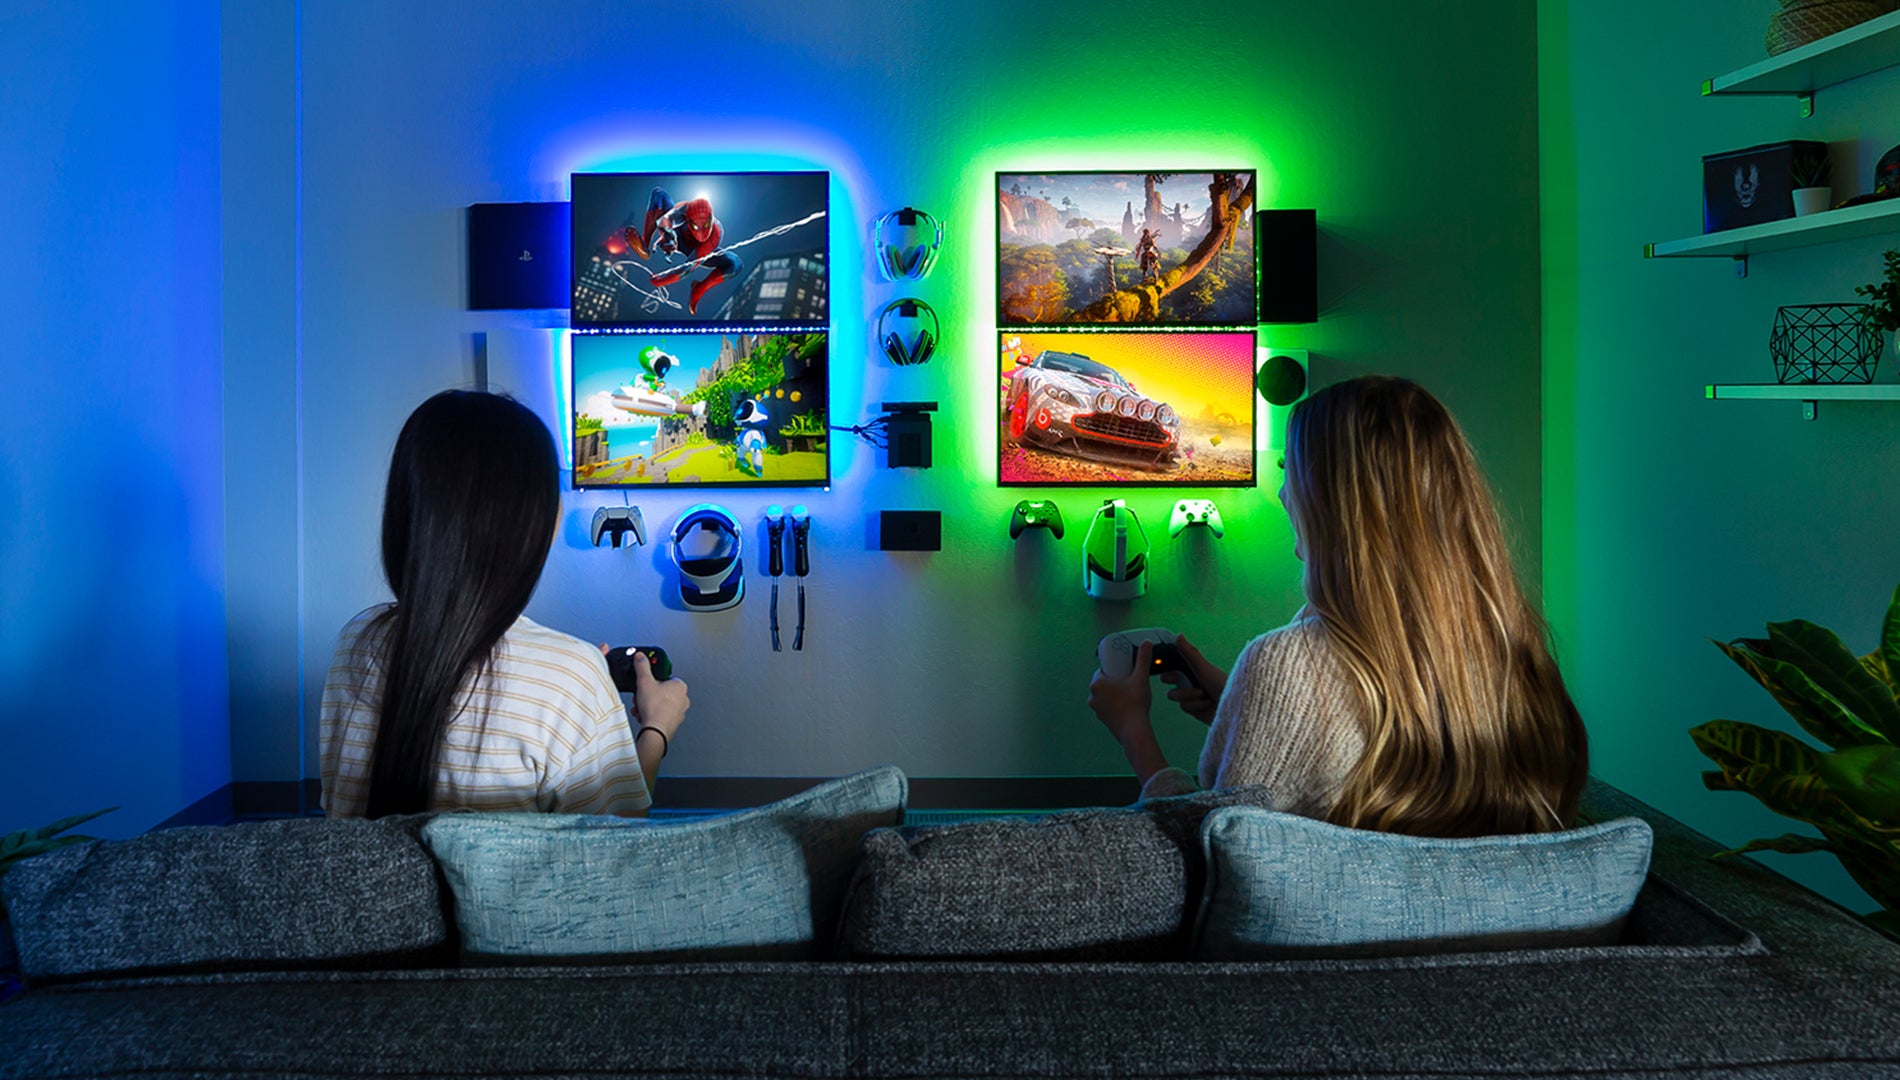
Tips to Create Your Best Setup
Update your setup, organize your room + fall in love with your space with these simple tips! Whether you need help creating an epic man cave or sleek tech space, we have tips for it all.
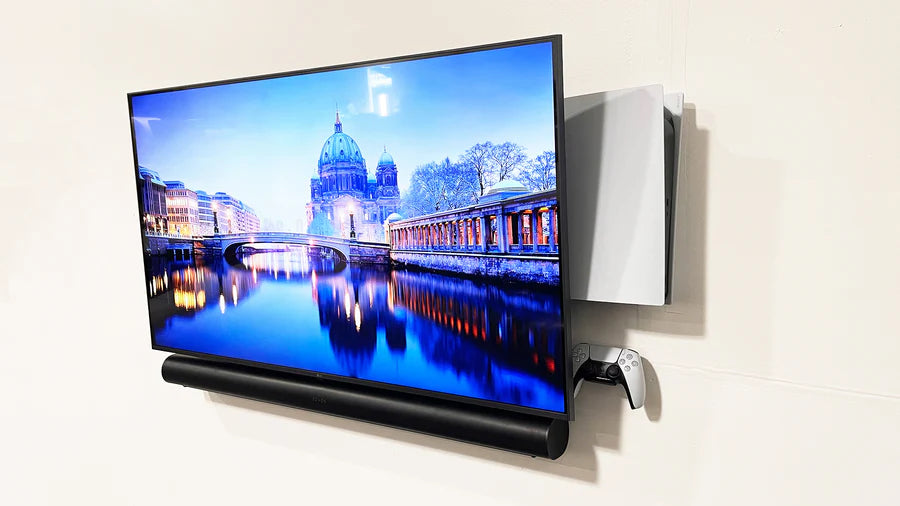
How to Mount Your TV + Devices
Our wall mounting tips will help you determine things like which TV and device mounts you’ll need, how high you should mount your TV, and the best placement for your devices!
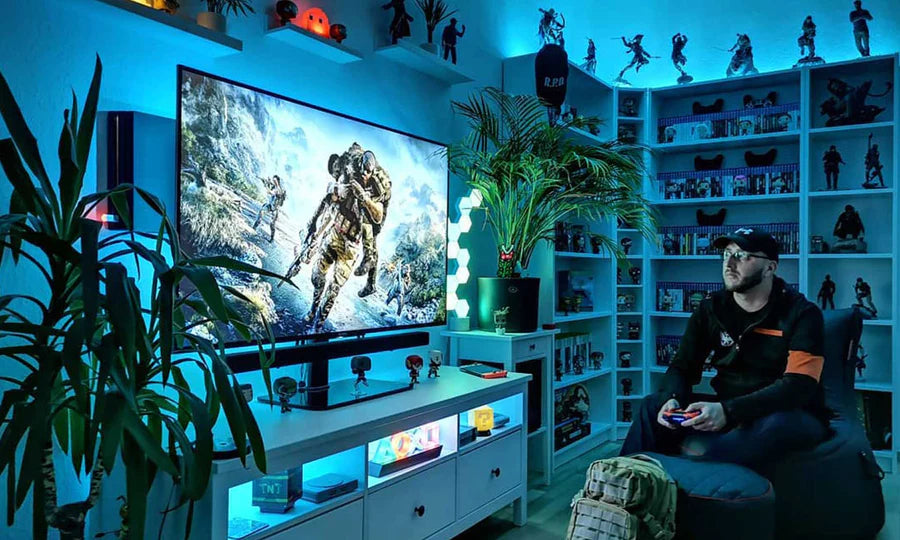
5 Health Tips to Help You Game Longer
As we get older, it can be difficult to find time to enjoy our favorite hobbies. It's important to game in a healthy way so you can play longer - whenever you get the chance!
SINCE 2009
The HIDEit Story
What do you get when you add a Nintendo Wii, a few glasses of wine and a blow torch together? Usually a recipe for disaster.
But in our case, it was different.

